Description
Description
Note: Please use it where the laws of your country allow it.
After the power-on digital tube is fully lit, the last saved frequency band and channel will be displayed.
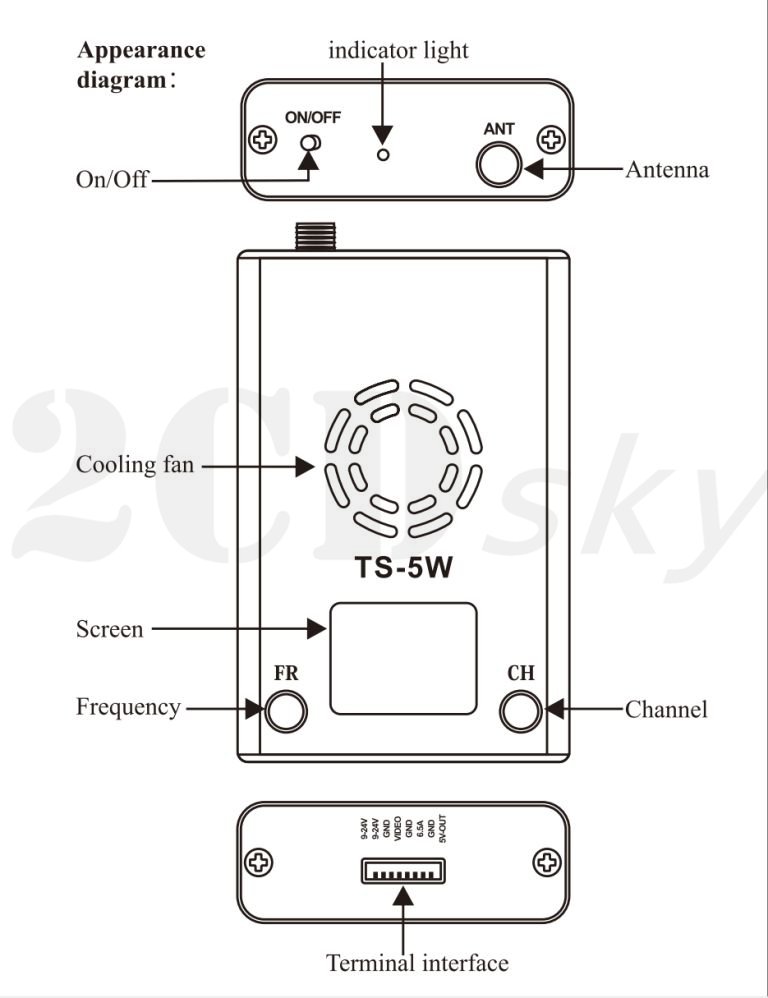
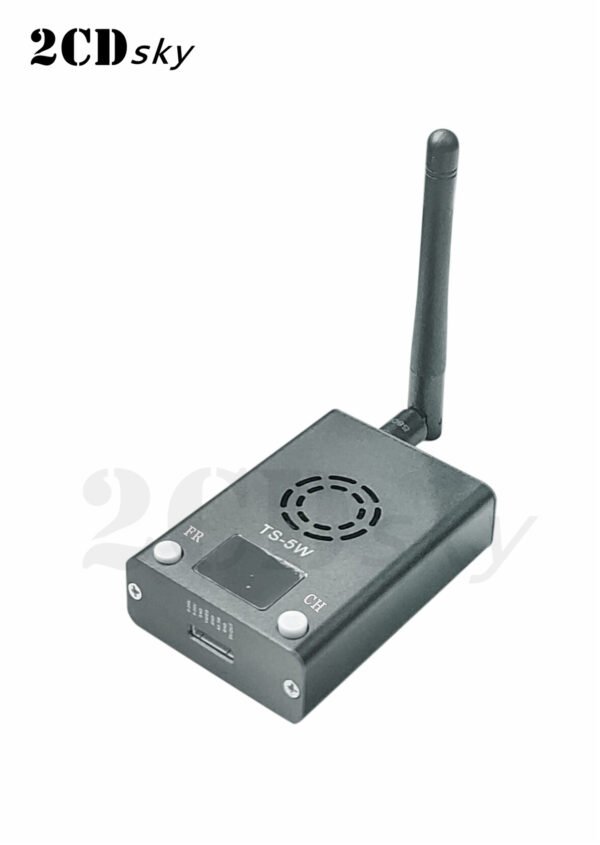
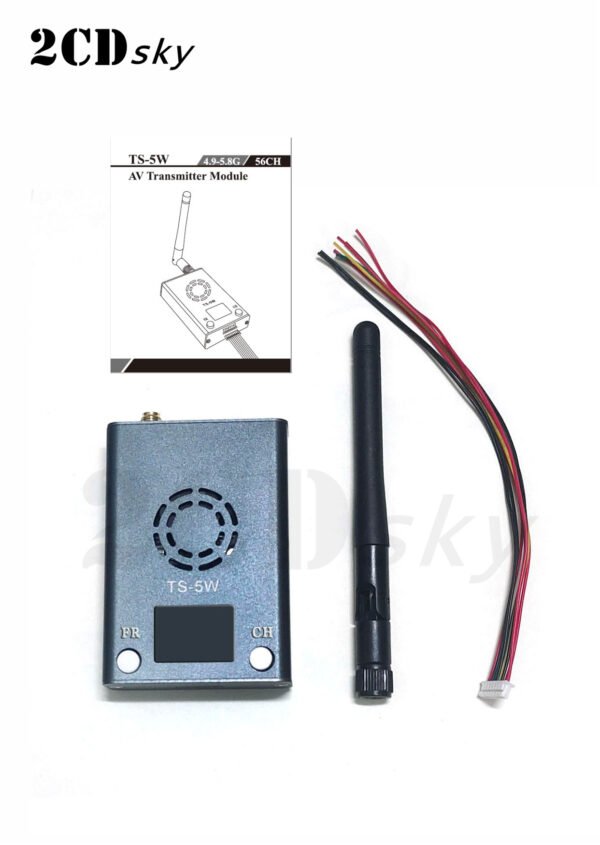
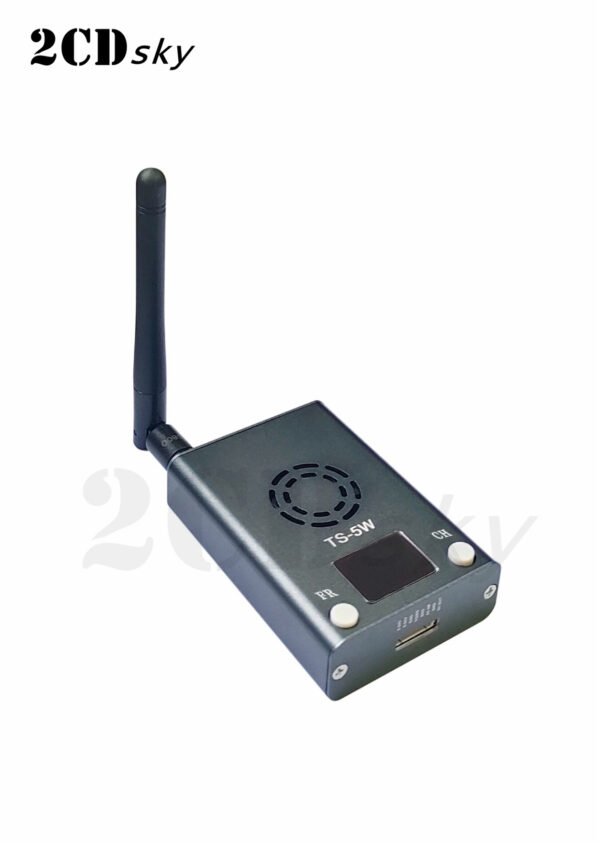
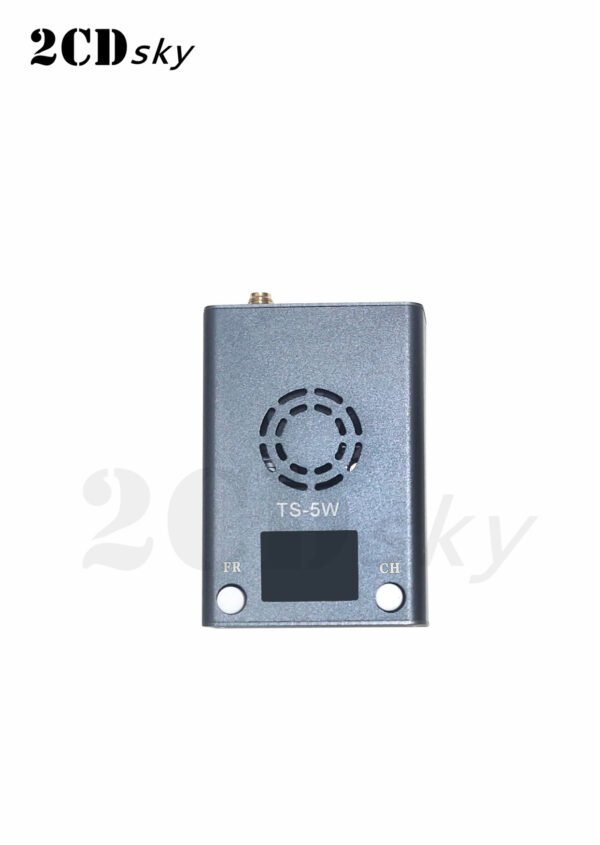
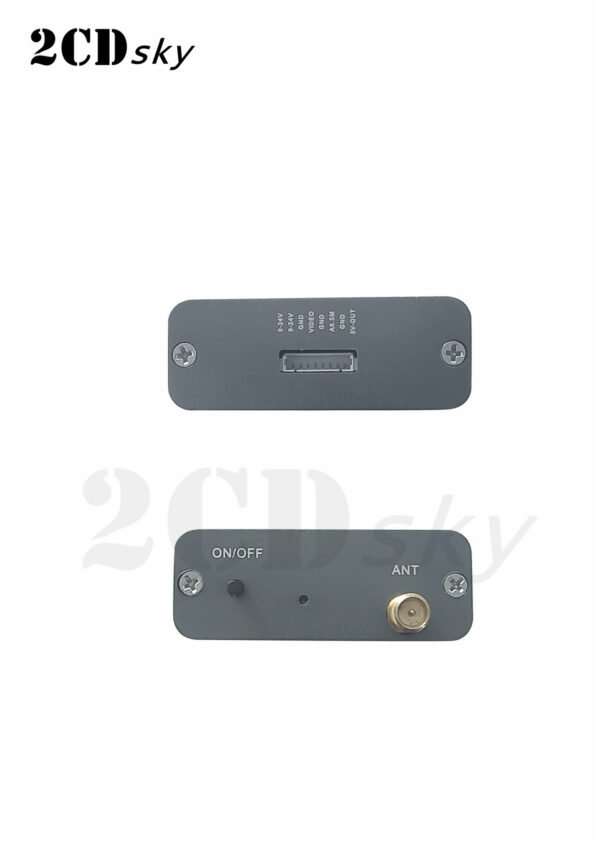
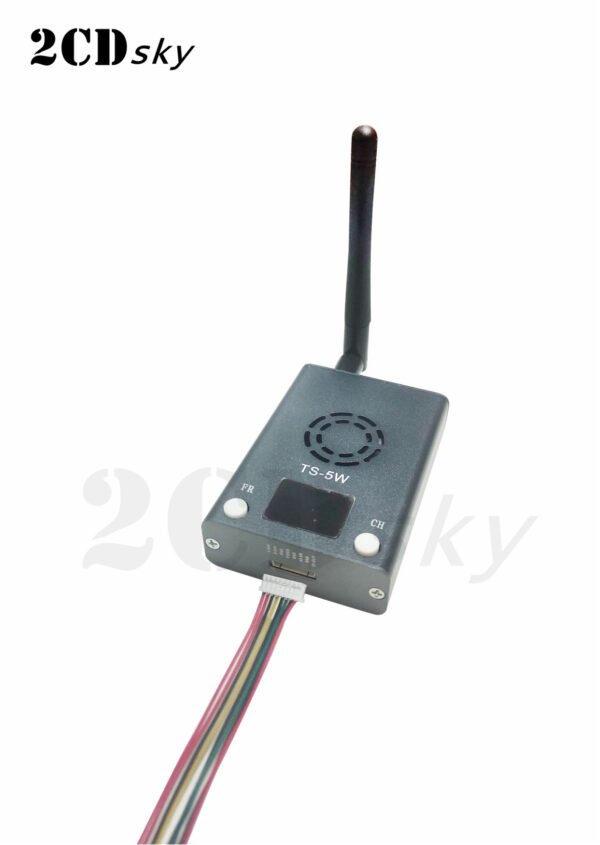
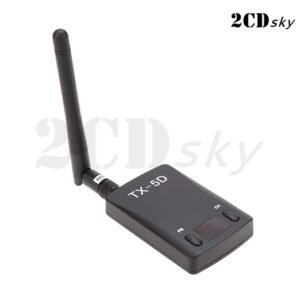
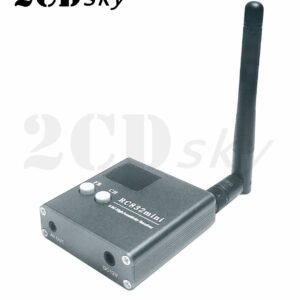
1. Adjust the channel _CH and frequency band _FR of the module through two buttons, and a power on button (note: it must be turned on after the antenna is installed, otherwise the power amplification IC will be burned):
A: Adjustment of frequency bands:
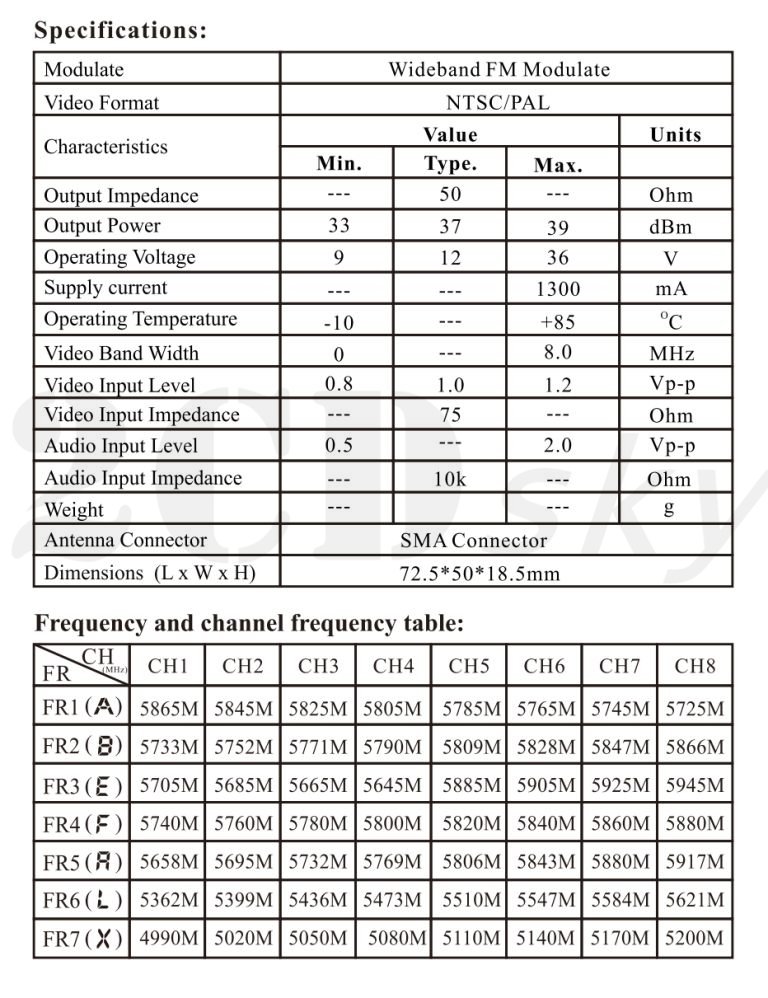
In the initial state of power-on, press the FR button to adjust the current frequency band, short press the FR button (about 0.5S) to jump the frequency band from 1 to 2, and the digital tube will be displayed from 1 to 2; Press the FR button (about 0.5S) again, the frequency band jumps from 2 to 3, and the digital tube is displayed from 2 to 3… The frequency bands are cyclic between A.B.E.F.R.L.X, and the digital tube is displayed as cycling between 1.2.3.4.5.6.7.
B: Channel adjustment:
Press the CH button to adjust the channel you are in, short press the CH button (about 0.5S) once the frequency band jumps from 1 to 2, and the digital tube is displayed from 1 to 2; Press the CH button (about 0.5S) again, the frequency band jumps from 2 to 3, and the digital tube is displayed from 2 to 3… The frequency band is cyclic between 1.2.3.4.5.6.7.8 and 1.2.3.4.5.6.7.8.
C: Power on:
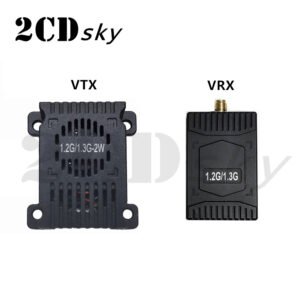
When it is determined that the matching antenna is installed in place, press the power on button and the transmitter will start to work normally. Be careful not to block the radiator’s cooling fan window.



Reviews
There are no reviews yet.